Introduction
This manual provides comprehensive instructions for the AOCHUAN Smart X2 3-Axis Gimbal Stabilizer, including its accompanying storage bag and extension rod. This system is designed to provide stable and professional video recording with smartphones.

Image: The complete AOCHUAN Smart X2 package, featuring the white gimbal stabilizer, a black storage bag, and a black extension rod.

Setup
1. Unpacking and Initial Inspection
Carefully remove all components from the packaging.
Verify that all items listed in the product description are present: Smart X2 Gimbal, Storage Bag, Extension Rod.
Inspect all components for any visible damage.
2. Charging the Gimbal
Before first use, fully charge the gimbal using the provided charging cable.
Refer to the gimbal's indicator lights for charging status.
3. Mounting Your Smartphone
Extend the phone clamp on the gimbal.
Carefully place your smartphone into the clamp, ensuring it is securely held.
Position the phone centrally to aid in balancing.
4. Balancing the Gimbal
After mounting the phone, adjust the gimbal arms to achieve a balanced state. The phone should remain level when the gimbal is powered off.
Proper balancing is crucial for optimal performance and battery life.
Operating Instructions
1. Powering On/Off
2. Stabilization Features
The Smart X2 features an upgraded 8.0 anti-shake algorithm and a classic 3-axis framework to ensure smooth and stable footage in various conditions.

Image: A visual comparison demonstrating the enhanced stability provided by the Smart X2 gimbal with its 8.0 anti-shake algorithm, showing clear footage versus blurry footage without stabilization.
3. AI-Powered Face Tracking
Equipped with a magnetic AI sensor, the Smart X2 offers precise face tracking without the need for a dedicated app or Bluetooth connection.

Image: A demonstration of the AI-powered face tracking feature, showing the gimbal automatically following a subject's face without requiring an app or Bluetooth connection.
4. Using the Extension Rod
The included extension rod provides adjustable lengths to suit various shooting needs, from compact to extended. It features a 1/4 screw interface for broad compatibility.
The extension rod has five extendable sections.
It can extend up to 73 cm (28.74 inches).
The built-in aluminum alloy extension rod on the gimbal itself extends 7.8 inches.

Image: A visual representation of the extension rod's adjustable lengths, showing various extended positions from 18 cm (7.09 in) to 73 cm (28.74 in).

Image: Two individuals using the gimbal with its built-in 7.8-inch aluminum alloy extension rod, demonstrating its utility for capturing various angles.

Image: A close-up view of the extension rod's 1/4 screw interface, highlighting its compatibility with various devices like action cameras.
Maintenance
1. Cleaning
Wipe the gimbal and accessories with a soft, dry cloth.
Avoid using harsh chemicals or abrasive materials.
2. Storage
The included storage bag offers ample space and adjustable dividers to keep your gimbal, cables, and accessories organized and secure during transport.
Store the gimbal in a cool, dry place away from direct sunlight.
Utilize the provided storage bag for protection.
The storage bag features an adjustable shoulder strap for comfortable carrying.

Image: The storage bag, demonstrating its capacity to hold the gimbal, extension pole, phone, chargers, and wireless microphone, highlighting its organizational features.
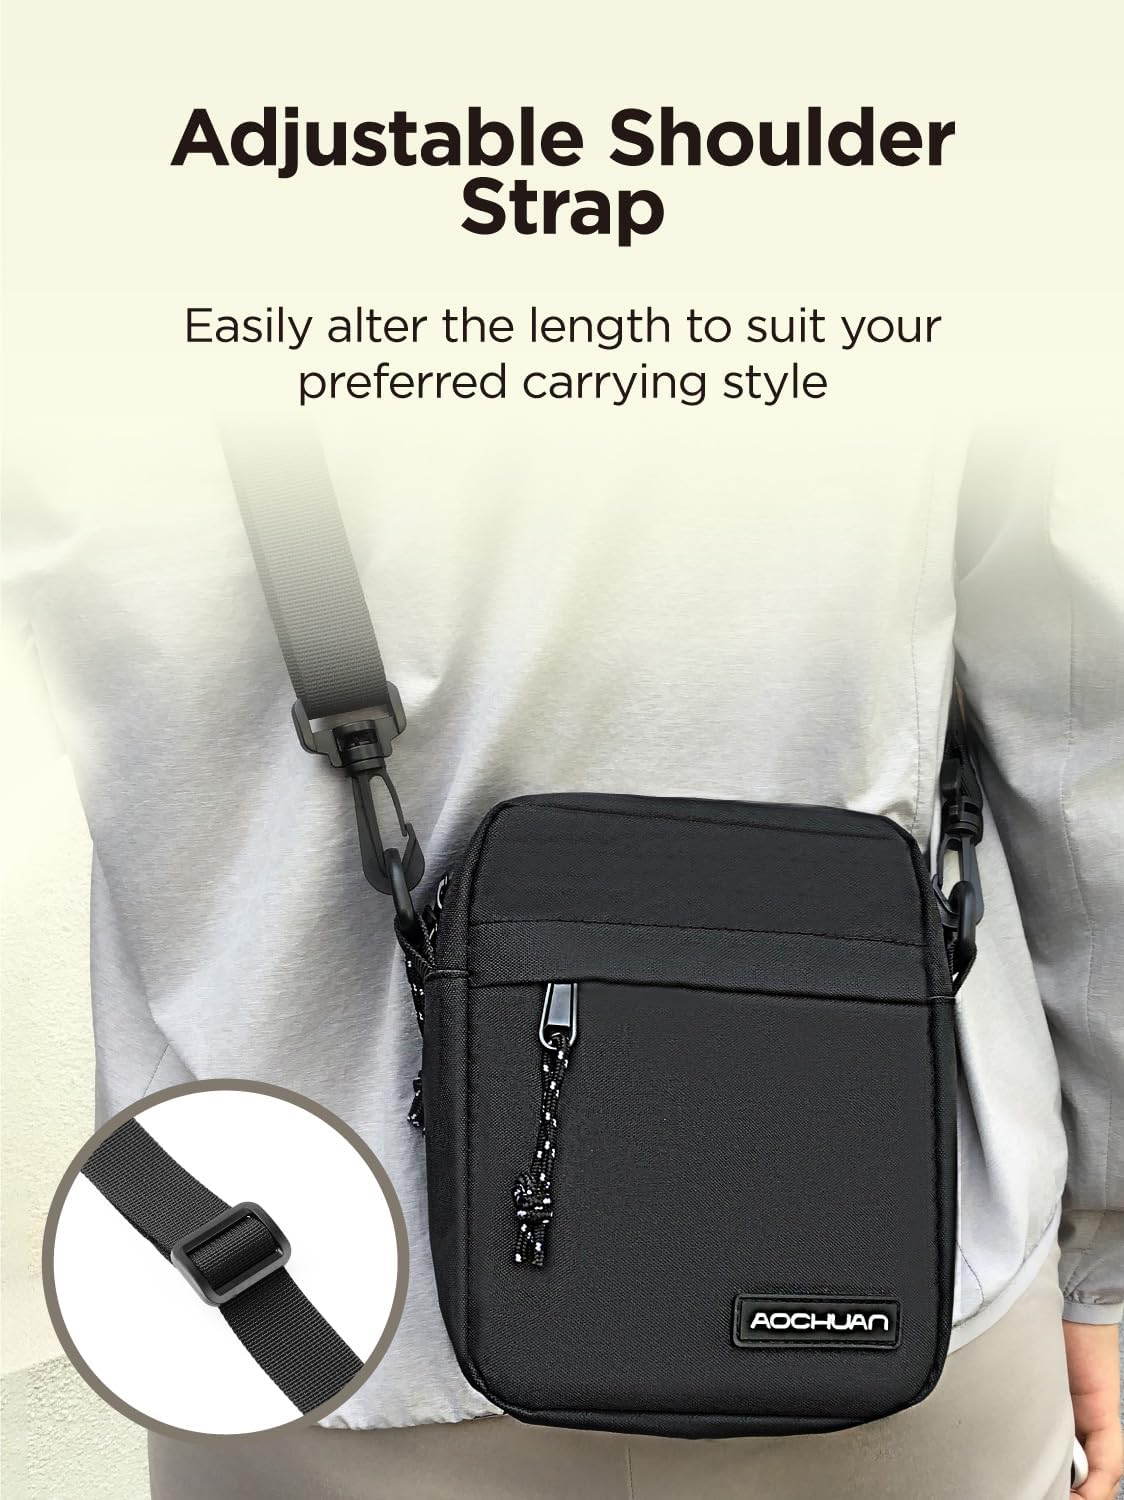
Image: A close-up of the adjustable shoulder strap on the storage bag, illustrating how its length can be altered for preferred carrying style.


 13% OFF